How do I use filters in Roundcube?
Back to emailIt is possible to use filters in Roundcube.
This allows you to, for example, send an automatic reply back, or move certain mails around based on mail properties.
To set filters you can do the following:
- Login to Roundcube
- Click on Settings in the left menu (for new layout, for old layout it is on the top right).
- Click on Filters
- You will see a default filter-set called Roundcube, if you would create a rule now it would be created by default under the Roundcube filter-set, this is fine in most cases.
- On the right click + New to add a filter to the filter set.
- Under search range, choose whether you want to filter only certain messages or all messages.
You can recognize which default filter set is active by the black paper icon.
As soon as you click on another (gray) paper icon you will see below it whether certain filters have been created or not.
The light blue color indicates which filter set is selected.
However, this does not indicate whether that filter set is active.
As in the example below:
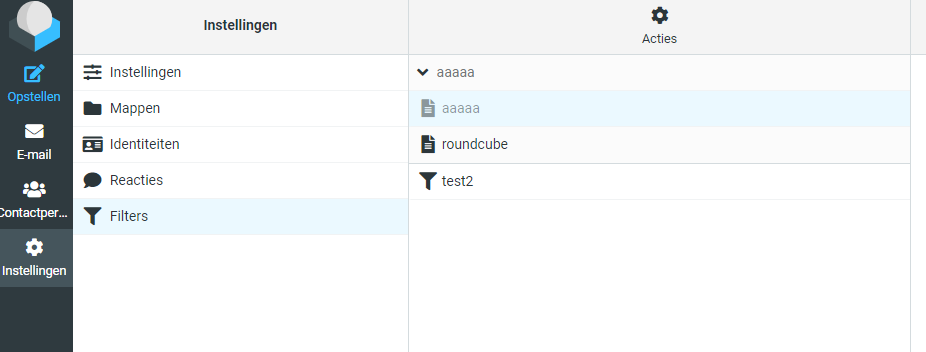
In the screenshot above we are looking at the filter-set that has the name aaaa, this shows that there is a filter present with the name test2.
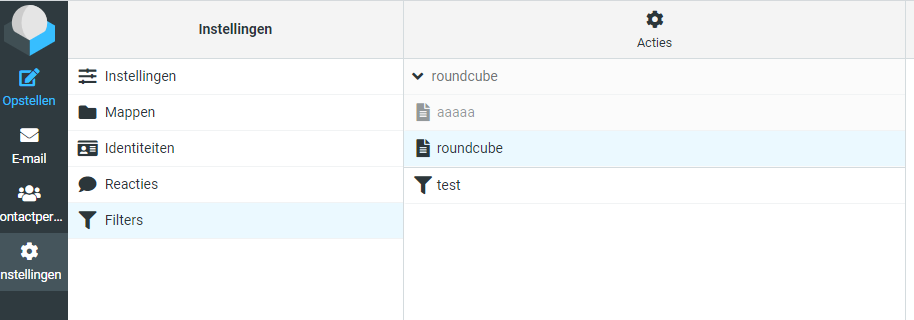
Suppose we click on roundcube, it shows other filters, as you can see in the example below. Here you can see a filter named test, while in the roundcube filter set we have a filter named test2.
It is important to specify which filter-set should be active. Suppose we want the filter-set aaaaa active so that the filter of test2 becomes active, then we have to click on aaaaa, and click on actions at the top.
Then click on "Enable/disable filter set"
For a filter to work, it is important that both the filter-set is active and the filter itself.
