How do I automate my SSL certificates?
Back to sslIntroduction
We recently started offering a fully automated process for requesting and installing SSL certificates.
In this article we explain how that works and what you can expect from this automated process.
The article is divided into 4 main points:
1. Automatic renewal of SSL certificates
2. Automatic validation of SSL certificates
3. Automatic installation of SSL certificates
4. Other details that are important for automation
In case you already have a running SSL certificate that does not have the auto renew feature yet but needs to be set up for it? Then I would like to refer you to the following article: Setting up automatic SSL for existing/running SSL certificates.
Automatic renewal of SSL certificates
The most important functionality of automating SSL certificates is the autorenew feature. The autorenew ensures that the relevant SSL certificates are automatically renewed every year. Where previously this had to be renewed manually every year, from now on this is no longer necessary and can be arranged with one push of a button!
The renewals for the SSL certificates can be paid by direct debit or credit to the my.oxxa.com account. It is also possible to set when you want to renew the SSL certificates in the my.oxxa.com under the tab "My Account" -> "Settings" -> "Autorenew". The following screen will then appear:
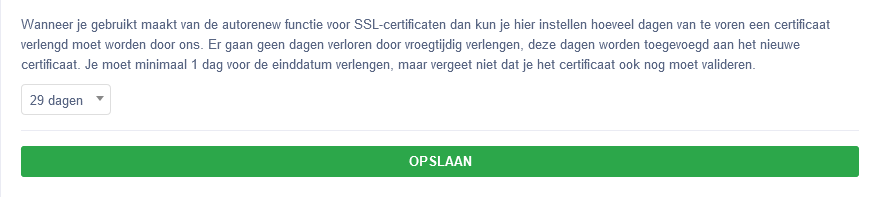
Here it is possible to choose the number of days you want the SSL certificate to be renewed in advance. Here you can choose between 29, 21, 14, 7 or 1 day(s).
Automatic validation of SSL certificates
For the application of the SSL certificate it is important that it is validated that you are the owner of the domain. The validation process is automated by us using a number of preset data. This data can be set in a server profile.
We use a CNAME record for the automatic validation of the domain. The Certificate Authority checks this CNAME record and will then validate the certificate. This generally takes a few minutes after the CNAME record is set.
Note: Automatic validation only works if CNAME validation is selected and we have access to the domain's DNS records. So as long as there is the possibility to push the CNAME record to the DNS of the domain it is possible to validate it automatically
However, there is an exception here for OV & EV certificates. For OV & EV certificates an extra verification process takes place from the supplier where the EV/OV certificate is ordered. This is because OV and EV certificates provide that extra bit of guarantee where the Certificate authority performs an extra check on the organization behind the domain. Once this process is completed, the SSL certificate will be validated.
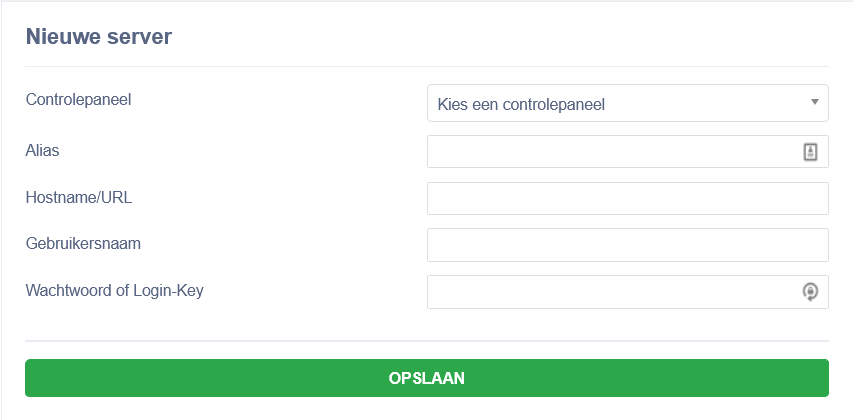
Creating a server profile can be done in the my.oxxa.com environment by going to the "Profiles" -> "Server Profiles" tab. Here a new server profile can then be created. Below is an illustration for an example:
We currently offer the auto-install functionality only for the Satserver and Direct Admin control panels.
Creating a server profile for your Direct Admin account
When creating a server profile, a number of things are asked. In the "Alias" text field, something can be entered as desired. This is just the name of the server profile, so it is not very important for the rest.
The host, username and password are important though. For host, enter the full URL plus ":2222" at the end of it. For example: https://mijnwebsite.com:2222
For username and password, enter the details of the relevant Direct Admin account.
This can be a domain account, but also a reseller or admin account. As long as the account has permissions to install the certificate for the respective domain.
Creating a server profile for your SATserver account
Creating a server profile for a SATserver account goes almost the same way as with Direct Admin. In the username and password fields, enter the appropriate SATserver login information.
Auto installation of SSL certificates
The auto installation feature ensures that after purchasing an SSL certificate and providing a server profile, the SSL certificate will be automatically installed on the respective domain.
This is also possible for domains located on an external Direct Admin server. So for example an own set up Direct Admin server environment or at another hosting party under a Direct Admin control panel.
After creating a server profile, an SSL certificate can be purchased for the domain in question. Purchasing an SSL certificate is possible by going to the tab "SSL" -> "New SSL" in the my.oxxa.com environment. A new screen will then appear:
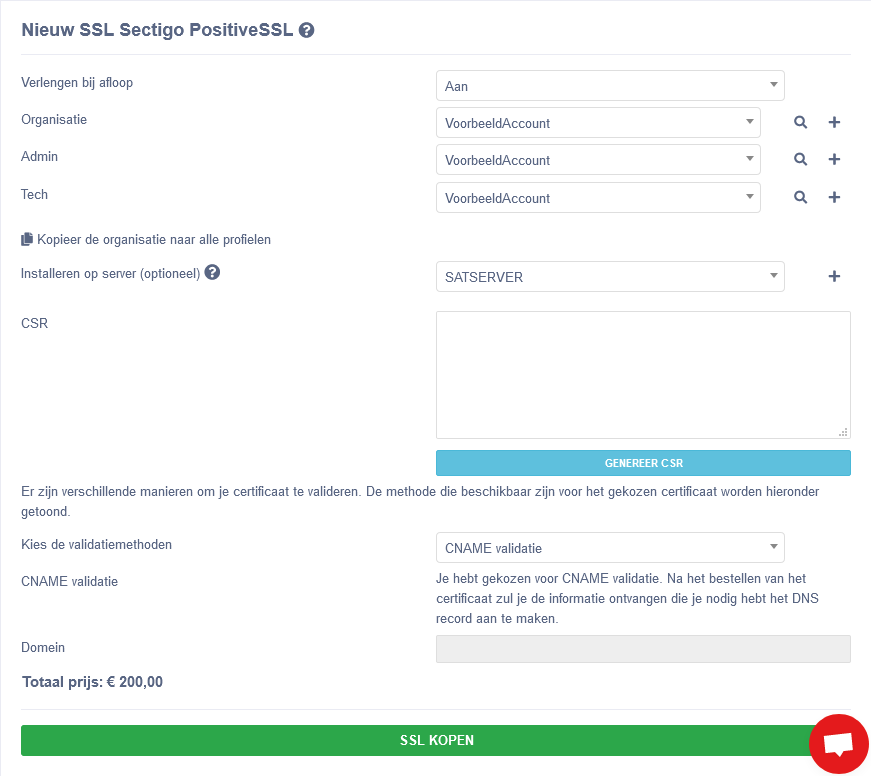
In the example above we are requesting a Sectigo Positive SSL certificate.
Here you can enter the appropriate server profile that has already been created.
Next, another CSR will need to be generated. A new pop-up will appear where information must be entered. Once this information is entered, the CSR will be generated. If you already have a CSR you can paste it into the text field.
Then the CSR will appear and there is the possibility to choose the validation method. In this case, always choose CNAME validation.
Then the corresponding SSL can be purchased and the entire validation and installation process will be completed.
Other details important for the automation
The private key will be stored for 28 days after purchasing and installing the SSL certificate. The private key can also be downloaded from the my.oxxa.com environment under the corresponding SSL certificate. After these 28 days the private key will be removed from the portal. If the private key must be kept longer, we recommend that you store the private key elsewhere.
We do this from a security point of view because the private key contains sensitive information regarding the SSL certificate, so if you do not store it locally and no longer have the private key at your disposal, you will have to re-issue the certificate.
Back to ssl